|
Early Television
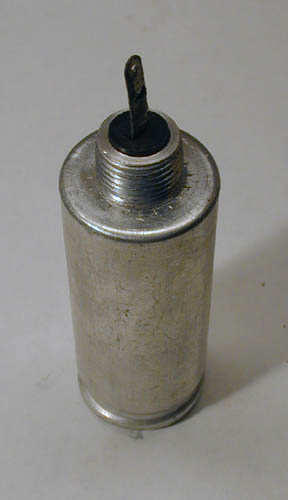
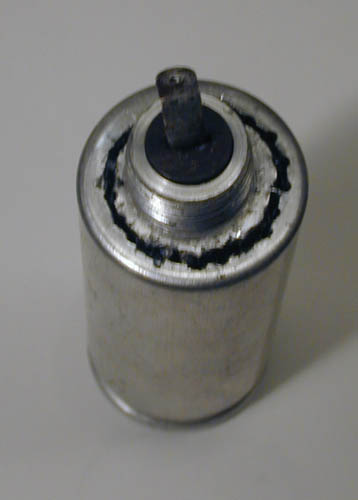
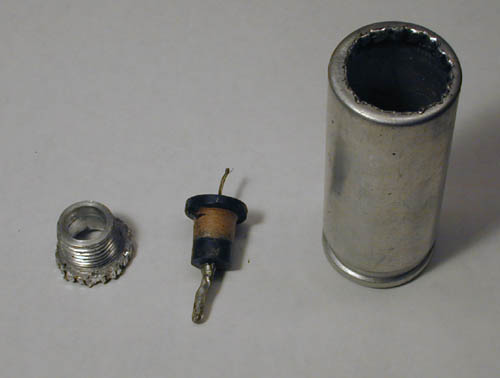
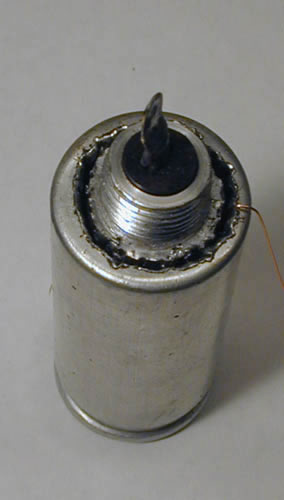
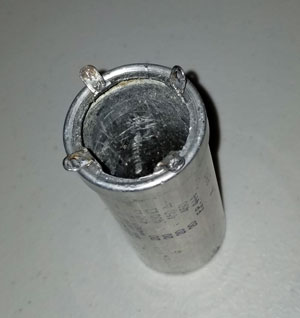
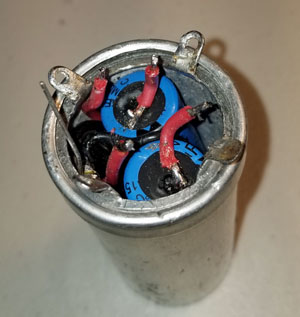
Rebuilding Electrolytic CapacitorsThis is my procedure for rebuilding screw mount electrolytic capacitors: Screw Mount1. Remove the can from the chassis
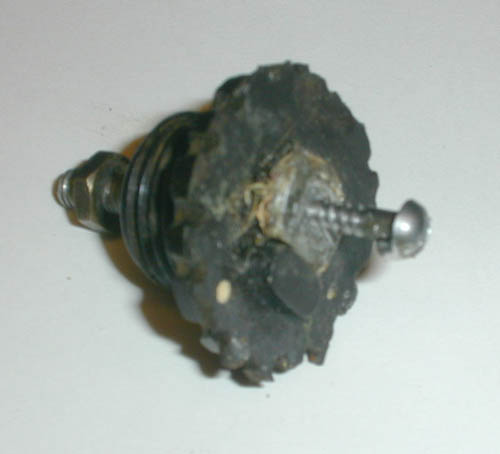
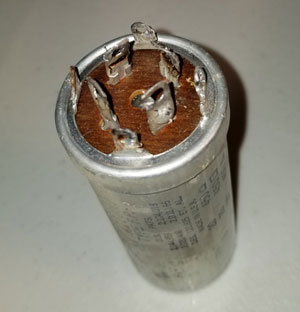
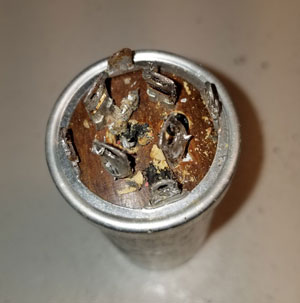
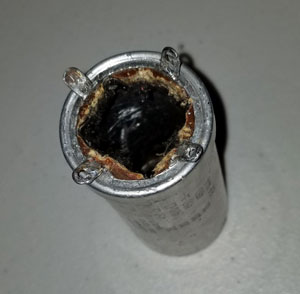
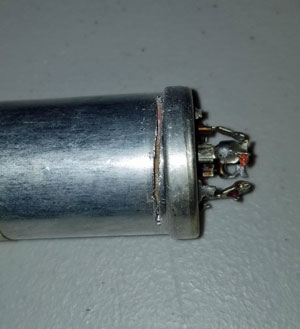
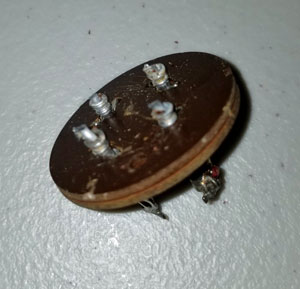
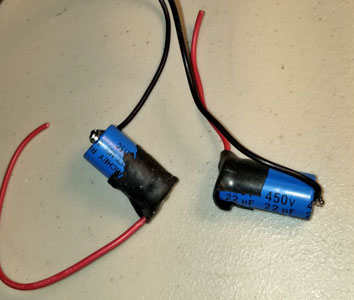
2. Remove the old guts. This is the most difficult part. I have found that if you drill three or four 1/4 inch holes through the old capacitor to within about 1/2 inch of the bottom, you can use needlenose pliers to twist apart the old electrolytic. Care must be taken to avoid denting the soft aluminum of the can. Also, heating the can with a heat gun will melt the tar surrounding the foil, making it easier to remove. 3. Solder a bare wire to the negative end of the new capacitor, and bring the lead up to the hole in the case. Note: often the voltage rating of the old capacitor will be 500 to 600 volts. Two 450 volt capacitors of double the value can be soldered in series to provide the higher voltage rating. In many designs, large bleeder resistors (2 megs or so) are put across each capacitor to balance the voltage across them. However, I have found that omitting the resistors works fine. Then, solder the positive end of the new electrolytic to the post. In some capacitors, it is not possible to solder to the post because it is aluminum. In this case, drill a small hole, then screw in a small steel screw. Solder the capacitor to the screw. 4. Insert the new capacitor in the can. Before inserting the capacitor, fill any excess space in the can with paper. Use a glue gun to fill the can with glue. When the can is almost full, position the center lug in its proper place. Then fill the can as full as possible with glue. 5. After the can cools, remove any excess glue from the outside. When re-installing the can, make sure the negative lead is clamped between the can and the chassis. Clamp MountFor clamp mount capacitors, the procedure is the same as above, except that you make a cut around the can at a point that will be hidden by the clamp. When gluing the can back together, make a tube of thin cardboard slightly smaller than the inside dimension of the can and about 3/4 inch high. Fill the bottom portion of the can with glue (use paper to fill empty spaces to reduce the amount of glue needed. Then, slide the cardboard tube into the glue, leaving about 1/4 inch above the edge of the can. After the glue dries, fill the top of the can with glue, and insert the bottom portion. Tab Mount
Here is a link to Chuck Azzalina's method of rebuilding high voltage (EHT) capacitors used in RCA TRK-9, TRK-12, and other sets.
|
||||||||||||||||||||||||||