|
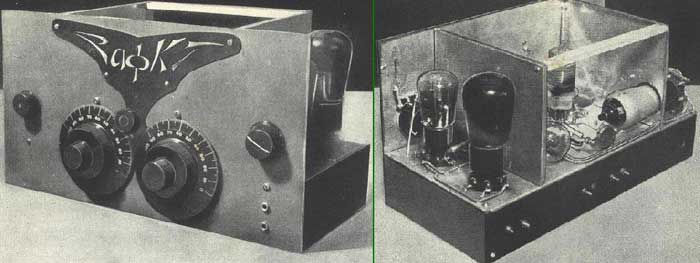
Early Electronic Television Shortwave ReceiverBy Roland Huisman After the power supply and monitor, now it’s time for the short wave receiver. This part of the project is the most accurately described part of the book. There are many pictures available and there is even a 1:1 drawing included with the book. The following story is a small overview about what it really means to build this short wave (80 meters) receiver. Because this is the final part I’ve put a movie of the working Kerkhof television receiver.
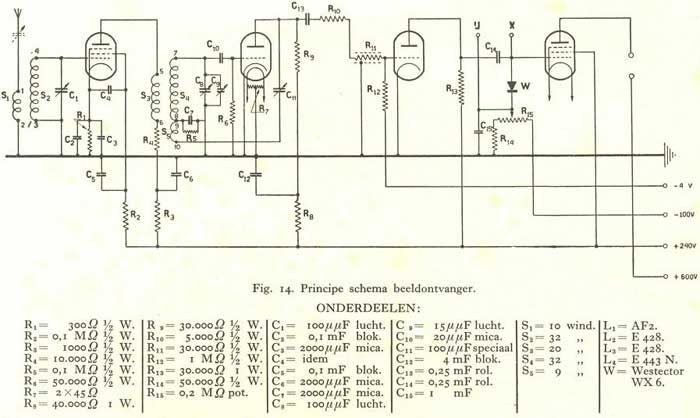
The schematic of the receiver:
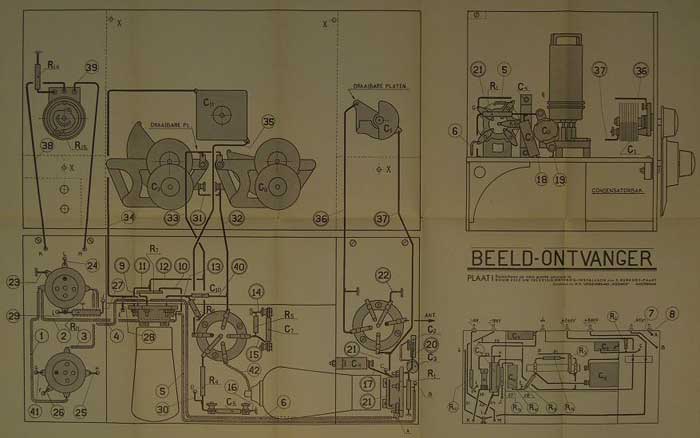
Below you can see the drawing that is added 1:1 to the book. But when you read the book there are certain options mentioned in the text. Those options are not included in this drawing or schematic. This is for the amateur to decide what he wants to add.
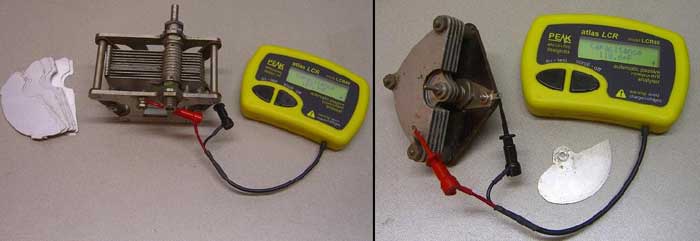
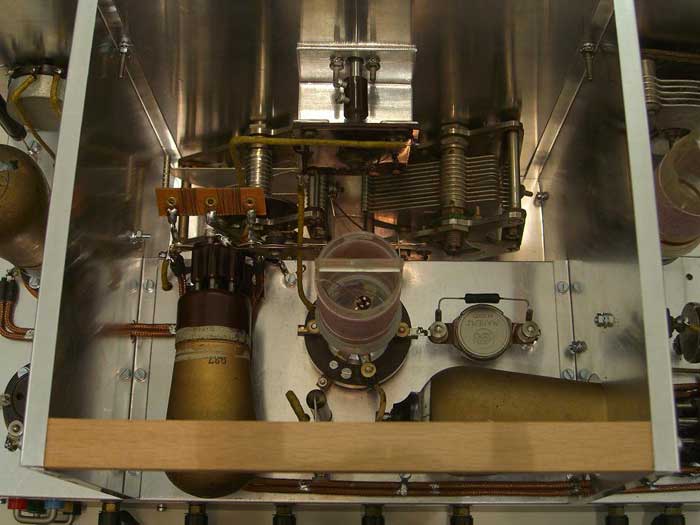
Let's start with the several components to make or to remake. The book describes tuning capacitors C8 and C9 Forg 250PF models which have to be converted to 100pF and 15PF. My capacitors were 500PF models but the procedure remains the same. The number of plates and plate distance (15Pf) should be adjusted. C1 is also an 100pF air model. I have this one made from a 150PF model of the time.
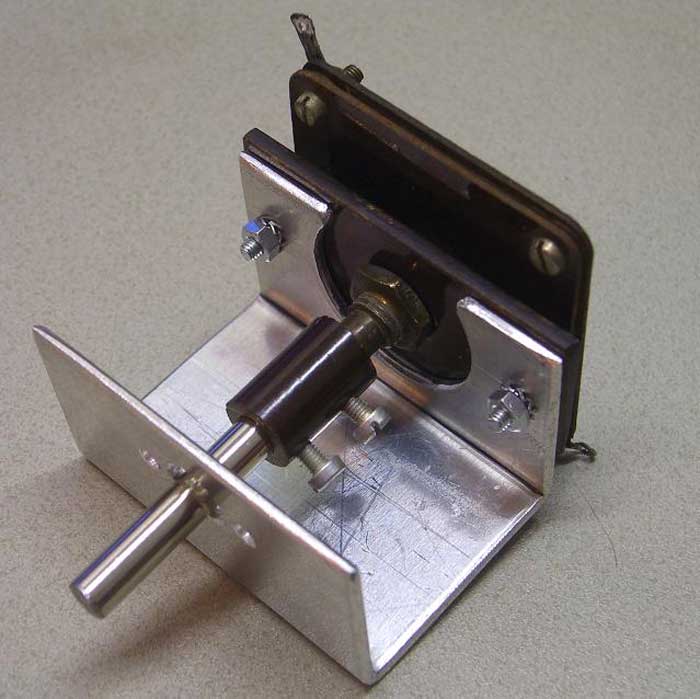
The feedback capacitor C11 should be isolated. The axis had to be a non conducting material to prevent the "hand effect". (As soon as I have a plastic model I’ll replace the metal one from the picture.)
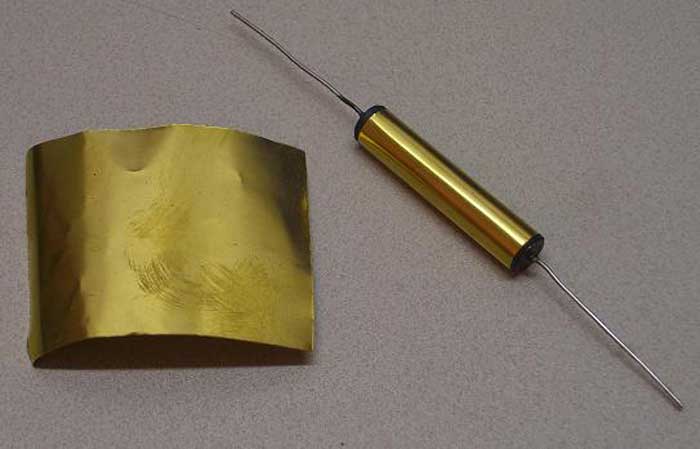
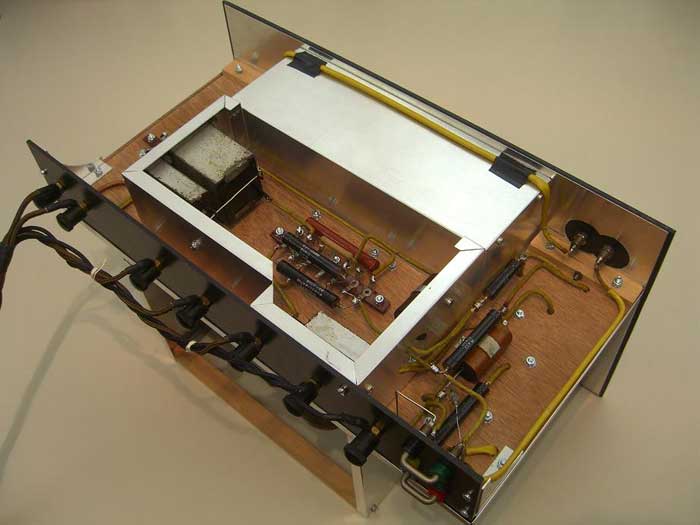
Resistor R11 should be shielded by an grounded metal foil. This is made with a piece of shrink tubing for insulation. Then there is thin copper around. This construction is made to block the last pieces of HF noise.
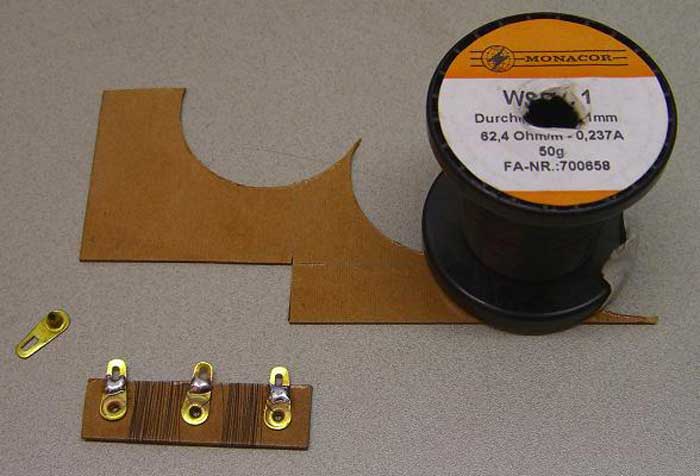
Resistor R7 is described in the book as a self-made wire-wound resistor with 2 x 45 Ohms. From a friend Ben Koks I’ve got thin resistive wire. This is perfect to build the resistor.
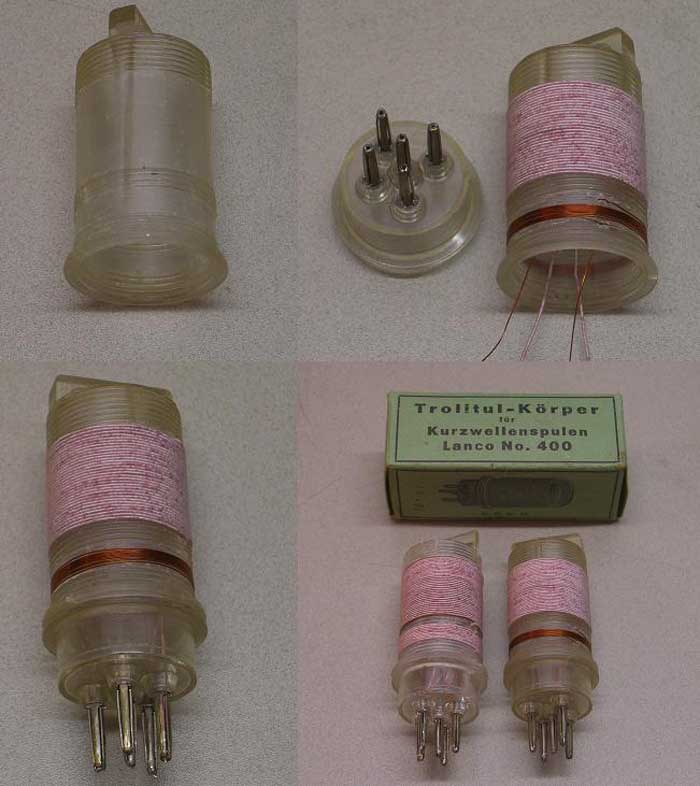
And what is a radio without coils? The coils are hand winded on trolitul tubes. You have to make the smooth surface yourself. The dimensions are given in the book.
The other components such as tube-capacitors and revised potentiometers
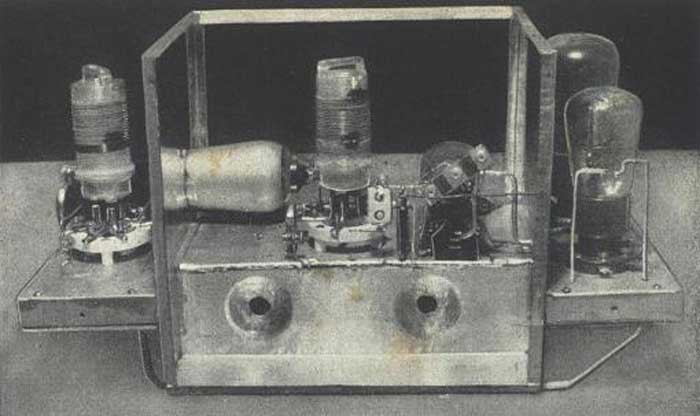
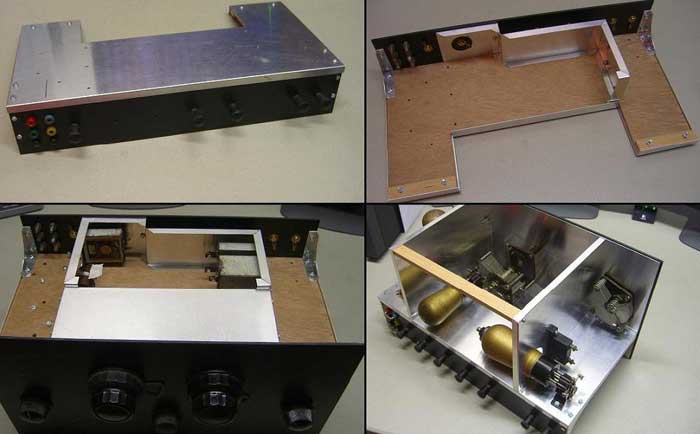
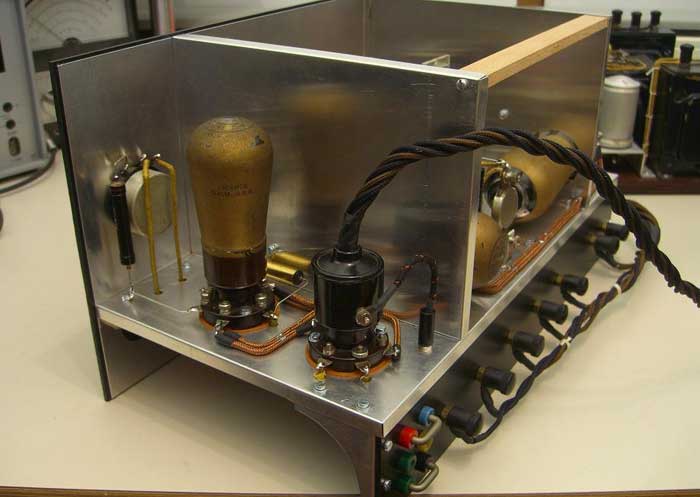
are described in the previous two stories. These are also used in the receiver but I don’t want to repeat this story. Hence I will not show it again. The chassis has been described as an 0.3mm metal chassis. Unfortunately I could not even get 0.5mm galvanized steel. In the thirties it was very common for radio amateurs to build chassis from aluminium. So I have build this receiver with 0.5mm aluminium. The construction is also much easier to build with simple tools by using aluminium. At the bottom are two holes meant for the tuning capacitors. I have made the chassis slightly larger so I don’t get these problems with my tuning capacitors.
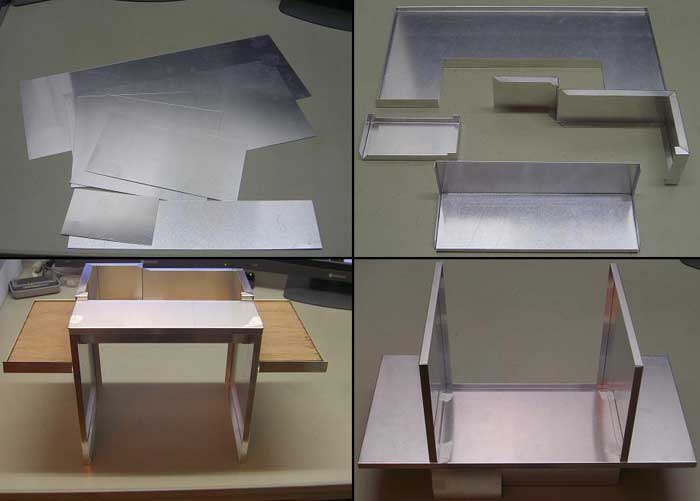
The chassis ... The aluminium is cut the same way as described at the monitor story. The bending is also very easy. Clamping and bending with
a piece of wood. This is just out of hand without a hammer! The short pieces can simply be bent over a piece of hardwood.
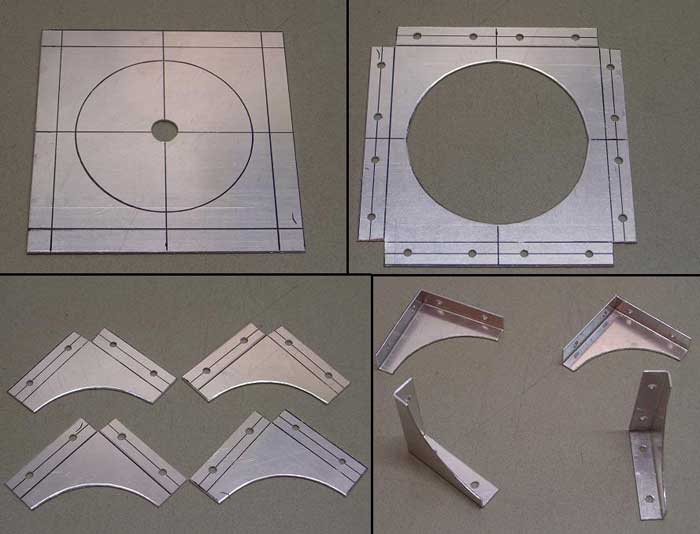
From a square piece of 1mm thick aluminum you can make easily make 4 brackets. There are two needed to mount the connection panel. The bending of the brackets 1mm is on the vice using a block of wood and a mallet. Exactly as described in the monitor.
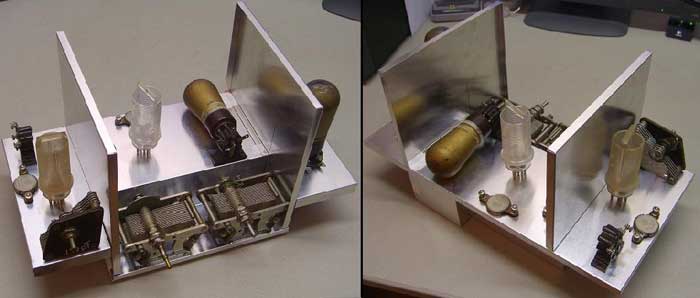
So, that was already a lot of preparation. Now the real work ... Shifting components, how to fit them the best way...
Then I try to prepare all holes without building the chassis. Otherwise it may become difficult for the machine to reach some places.
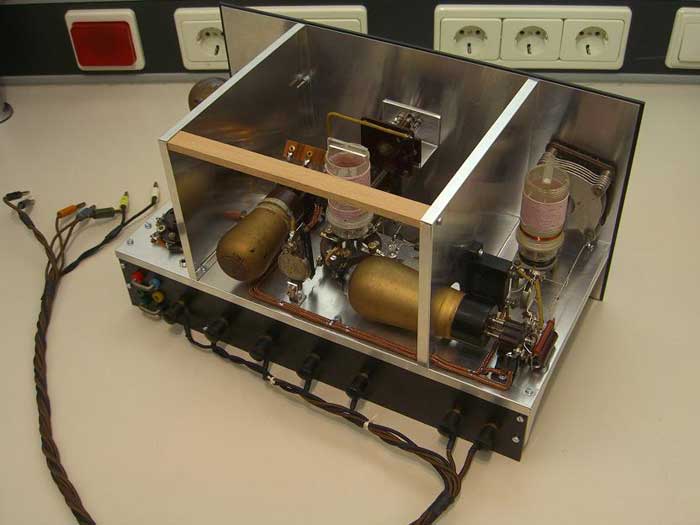
And then wiring it! Unfortunately, I have just one Eddystone coil holder. For the other one I used a tube socket. The chassis is already drilled for the Eddystone. I hope to find an Eddystone socket in the future...
This picture is a "ordinary" OA50 see. This one I have placed instead of the Westector WX6. The WX6 one I’ll get from a radio technician soon.
The E443N video amplifier for the electronic version is not necessary.
Instead of this lamp there is the plug that goes to the monitor. Because I want to build the mechanical version too, I’ll still have the E443N on my wish list ...
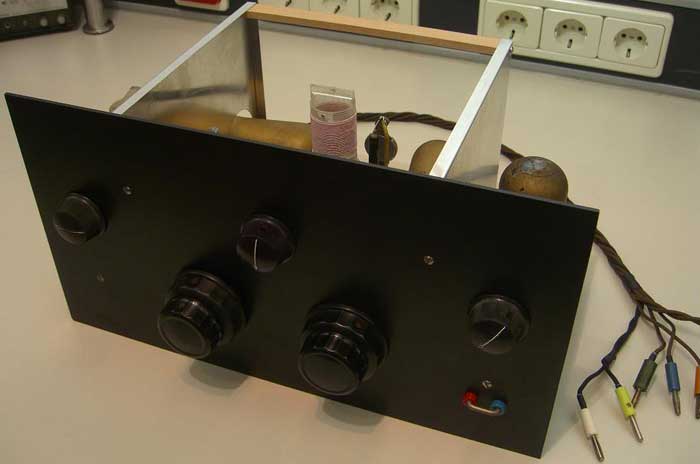
Maybe I’ll go searching for other tuning knobs. These knobs do not have a scale. For now I find it just fine.
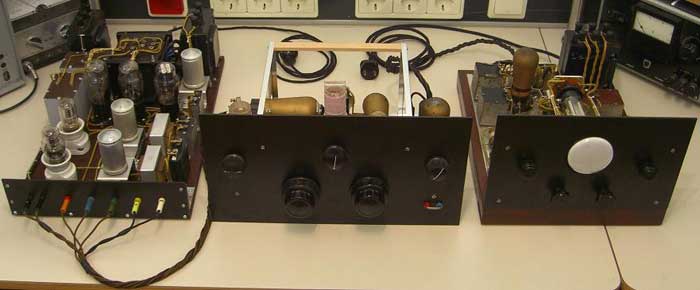
And then here is the entire setup. The title of the book "Build your own television receiving equipment" is in place.
And as promised a MOVIE of the working Kerkhof TV receiver! Tuned at 3.7 MHz. I still need four resistors to adjust the image size so that the correct picture size given. The image now is slightly too large. Mr. Kerkhof describes this in his book. Image height and width controls are not on the set. This is a fixed setting. Regards, Roland Huisman |
